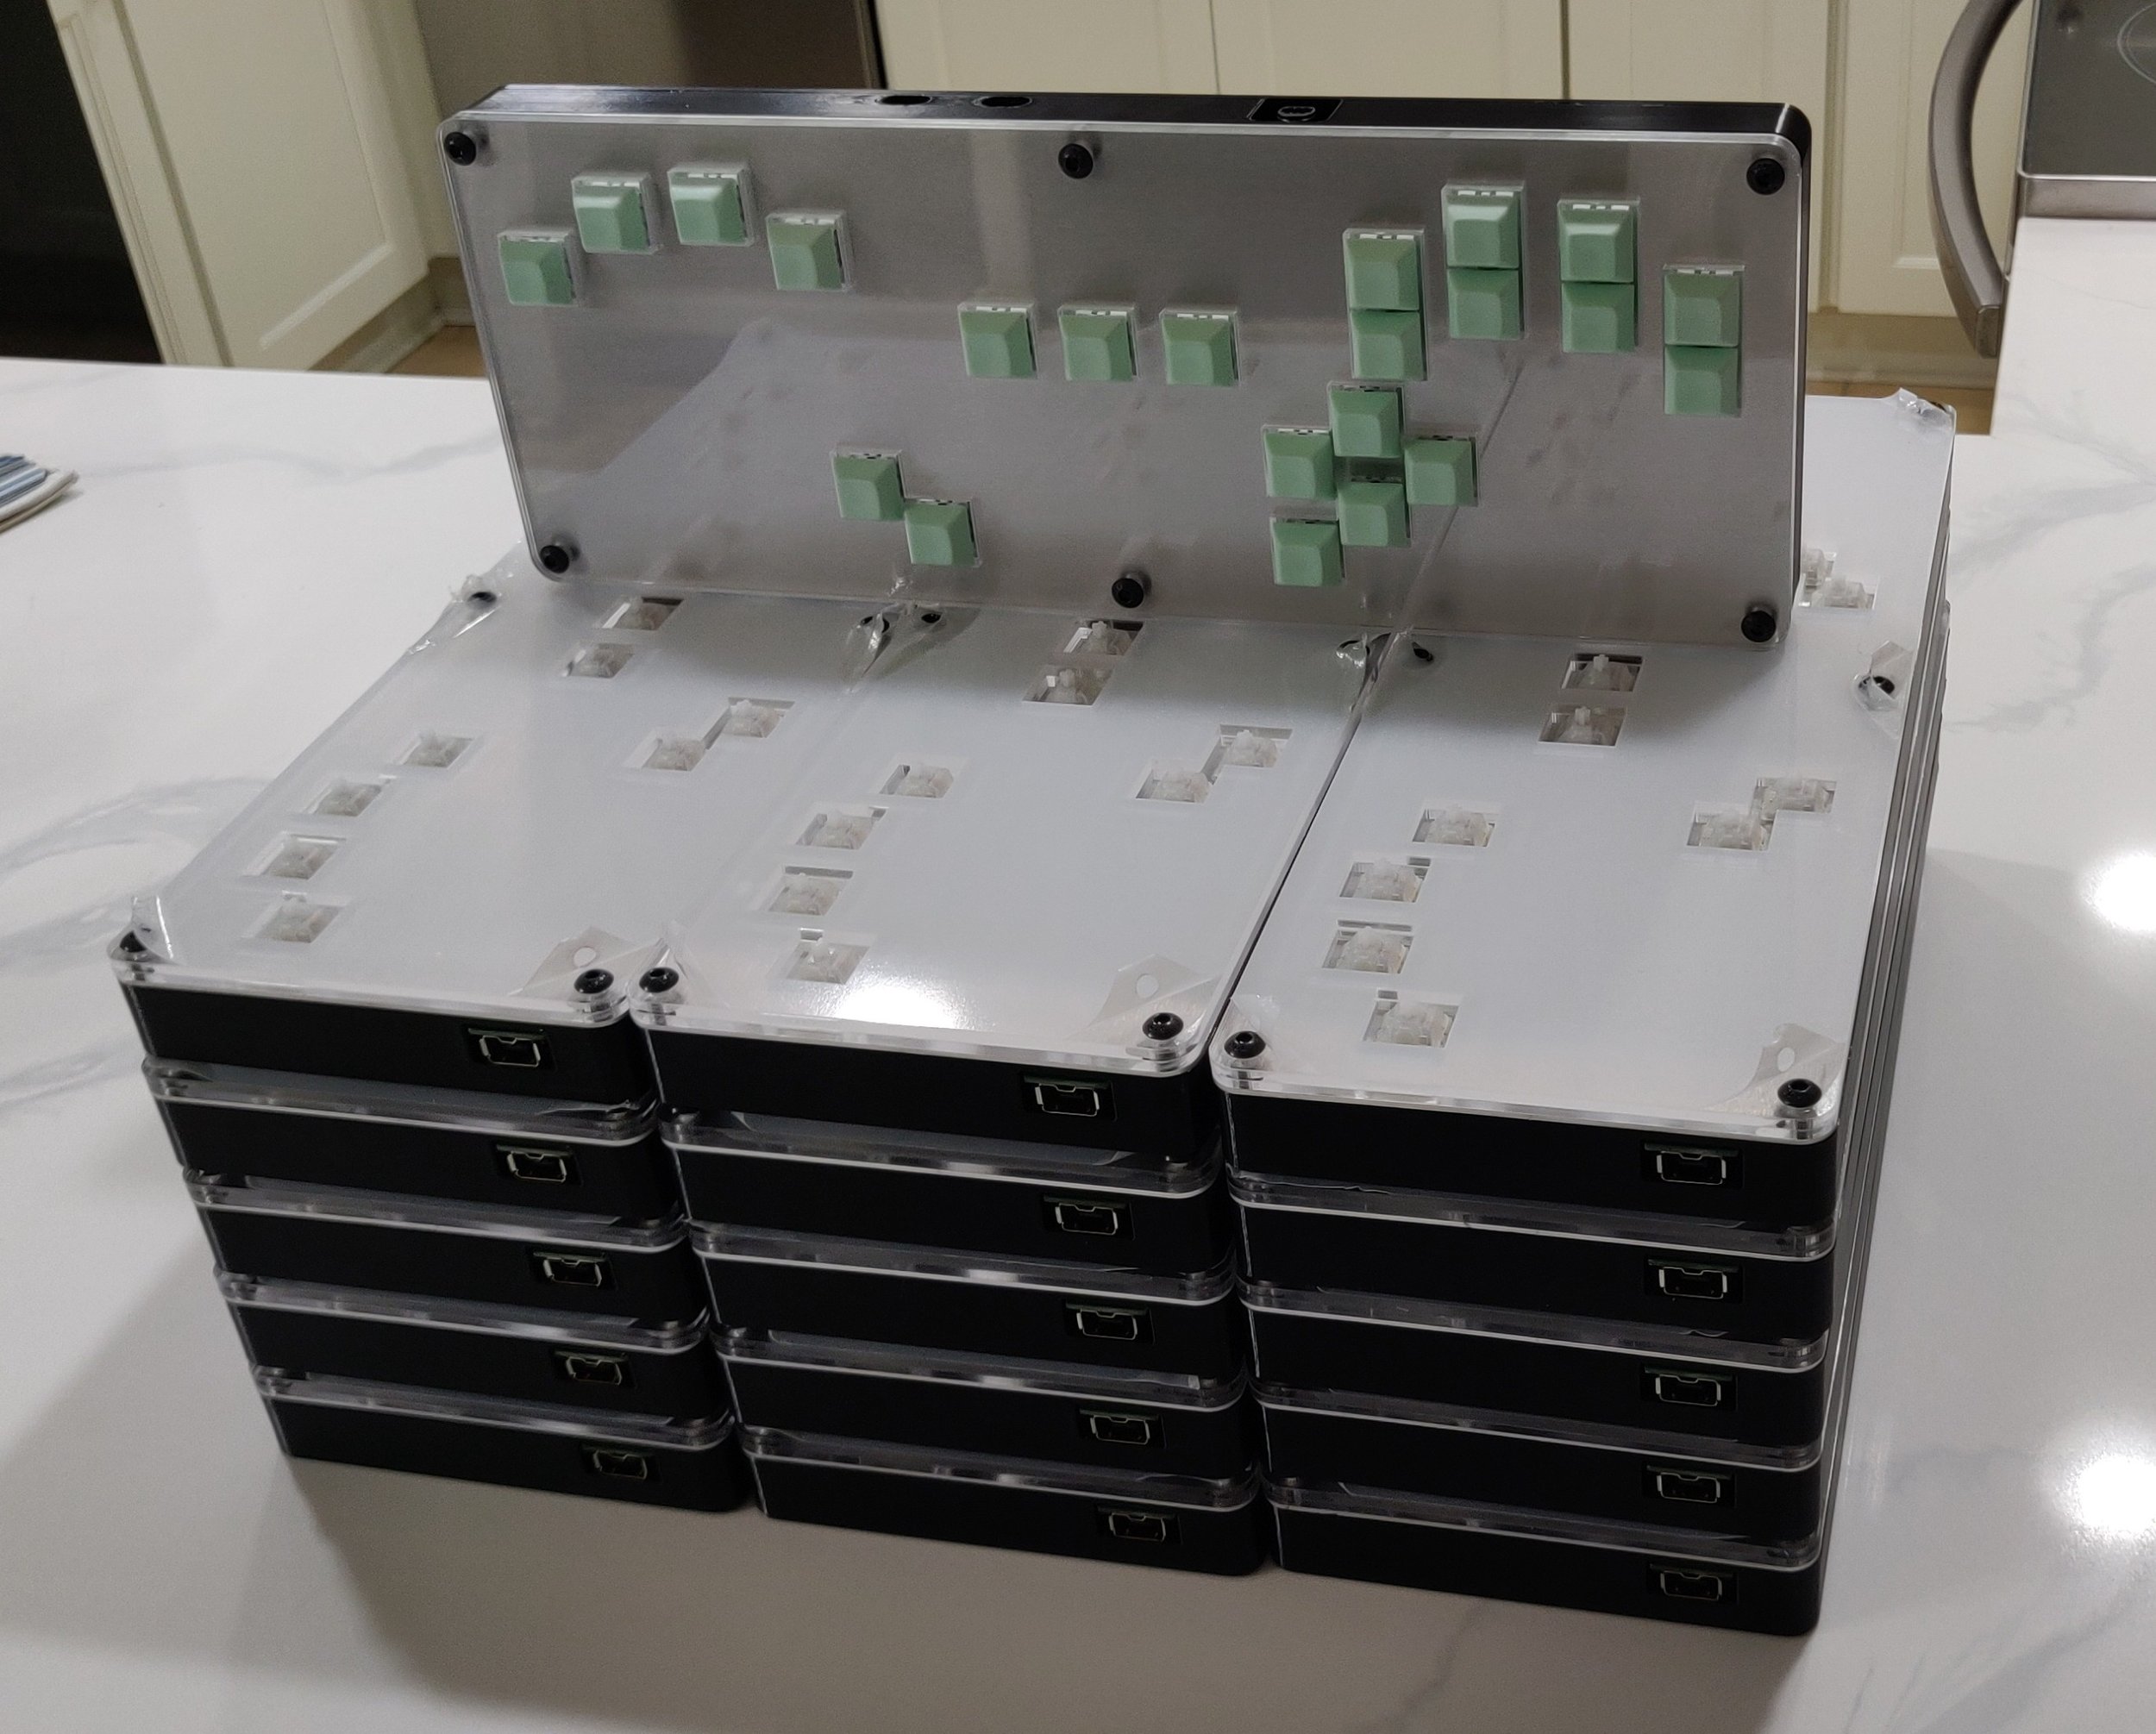
HTangl User Guide
This guide is for HTangl V2 If you have an older version click on one of the following links
The HTangl comes with HTangl firmware preinstalled. If you have not updated your firmware in over a month or so I recommend doing so as features are being added/changed all the time. The instructions in this guide only apply to the most recent version of the HTangl Firmware. Instructions on how to update can be found here.
Playing on PC
1. Plug in your controller using a USB-C to USB-A cable, use the USB port closest to the center of the controller.
2. Download the HTangl Dolphin controller profile file for Windows, Linux or Mac.
3. Navigate to your Dolphin install location, If you are using the slippi launcher click the gear icon in the top right then go to the netplay tab and click on “Open containing folder”. Now go to User>Config>Profiles>GCPad and put the file in there, you'll most likely need to create the "Profiles" and "GCPad" folders. Note on Linux the Config folder is in the hidden “.config” folder, the full file path is “~/.config/SlippiOnline/Config/Profiles/GCPad/”. You will need to turn off hidden folders in your distro to find the folder.
4. Open Dolphin, If you are using the slippi launcher you will need to go to the same netplay tab as in the previous step but this time click on “Configure Dolphin”. Go to the controllers menu and change any port to "Standard Controller" then click "Configure" next to that port. Go to the Profile drop down menu and select HTangl then click Load. You do not need to click save. Make sure “Arduino Leonardo” is selected in the device drop down menu at the top left.
5. Test your controller by pressing some buttons, your inputs should flash red, if it doesn't work try restarting dolphin.
6. Close out of all config windows and launch the game. You're good to go!
Playing on Wii/GC/Switch
GC/Wii - Plug in the controller with a USBC to GC or GC extension cable. No further setup is required. If you are playing P+ you will need to switch to the P+ mode, check the “Game Modes” section below for instructions.
If you are playing on a Wii using a USB loader you need to enable "Native Controller" for your controller to work. This option will be in different places depending on what loader you are using. This is not necessary if you are using Slippi Nintendont as it is enabled by default.
Switch - Hold the A button and plug your controller into a GCC adapter using a UCBC to GC or GC extension cable. Some 3rd party adapters will not work with the firmware, only the official Nintendo adapter and Mayflash adapter using firmware v0.5 with both USB ports plugged in are guaranteed to work. At this time the HTangl firmware does not support plugging directly into the USB ports on the Switch dock. If you are playing Ultimate you will need to switch to the Ultimate mode, check the “Game Modes” section below for instructions.
Game Modes
HTangl has several different game modes which change stick coordinates and mappings depending on the mode. You switch game modes by first plugging in the controller and then pressing 3 buttons simultaneously (do no try to hold all 3 buttons before plugging in), the game mode will change instantly, you do not need to hold the buttons down. These are the commands for accessing each mode:
Mod X + Start + L = Melee (default mode)
Mod X + Start + Left = Project M/+
Mod X +Start + Down = Ultimate
Mod X + Start + Right = FGC (Used for traditional fighters on PC only, will not work on other consoles)
Mod Y + Start + L = Keyboard (emulates a standard PC keyboard)
Mod Y + Start + Left = Rivals of Aether
Layout pictures for each game mode can be found here: https://www.htangl.com/modes
Nunchuk
HTangl V2 supports using a nunchuk but there are some limitations and sometimes button holds are required depending on what you are plugging into.
The select and home buttons (2 buttons left and right of the start button) can not be used when using a nunchuk. Pressing them repeatedly will freeze the controller and you will have to unplug and replug to reset it.
The nunchuk is not hot swappable as in you can not plug or unplug it while the controller is plugged in and in use. You need to have the nunchuk connected before plugging in the controller.
If you are plugging into Wii/GC you need to hold A on plugin for the nunchuk to work. Holding A is only required if you are using a nunchuk.
Brook Board
HTangl V2 supports adding a brook board in order to use your controller on consoles other than Wii/GC/Switch.
You will need to disassemble your controller to install the brook board, watch the HTangl V2 disassembly video for instructions.
The brook board is not remappable and changing the pins in your firmware will not change your brook board buttons. There is a picture of the brook board layout here.
After installing your brook board use the USBC port closest to the edge of the controller to access it.
Htangl is compatible with the following brook boards:
PS3/PS4 Fighting Board Plus
PS4+ Fighting Board with Audio
PS3/PS4/Switch/PC Wireless Fighting Board
Universal Fighting Board with Headers
Retro Board
There is enough room in the case to add the PS5 upgrade kit but I have not personally tested it.
Art Template
If you would like to add your own art to the top panel you can use the following templates. Watch the HTangl Art Printing video for more info on how to use these files.
